January Stamp Club Video ( 2 cards )
Hope you have fun making these. Feel free to contact me with any questions.

Here is January's Stamp club cards. I will add the video in the next day or so. I have to shoot it first! I have 2 cards for you
Flat Edge Card
Supplies
5 ½ X 8 ½” piece of cardstock
1 X 5 ¼” piece of Designer Series Paper
2 ¾ X 5 ¼” piece of cardstock
2 ½ X 5” piece of white or light cardstock
18” Thread or ribbon
Steps
1) Score the 5 ½ X 8 ½” piece of cardstock at 4 ¼” and 5 ½” on the 8 ½” side. Fold in half on the 4 ¼” score line and then back on the 5 ½” score line.
2) Glue or tape down the 1 ¼” panel to the inside of the card leaving a panel that is 3” X 5 ½” wide to open.
3) Attach the 1 X 5 ¼” piece of DSP to the narrow panel on the left.
4) Stamp your image on the 2 ½ X 5” piece of light cardstock and mat the image with the 2 ¾” X 5 ¼” cardstock and mount on the right side of the front of the card.
5) Tie a thread or ribbon vertically around the small left-hand panel.

Square Spring Card
Supplies
Designer Series Paper or Cardstock 4 1/4 X 8 1/2"
Bone folder
Cardstock for embellishing
Steps
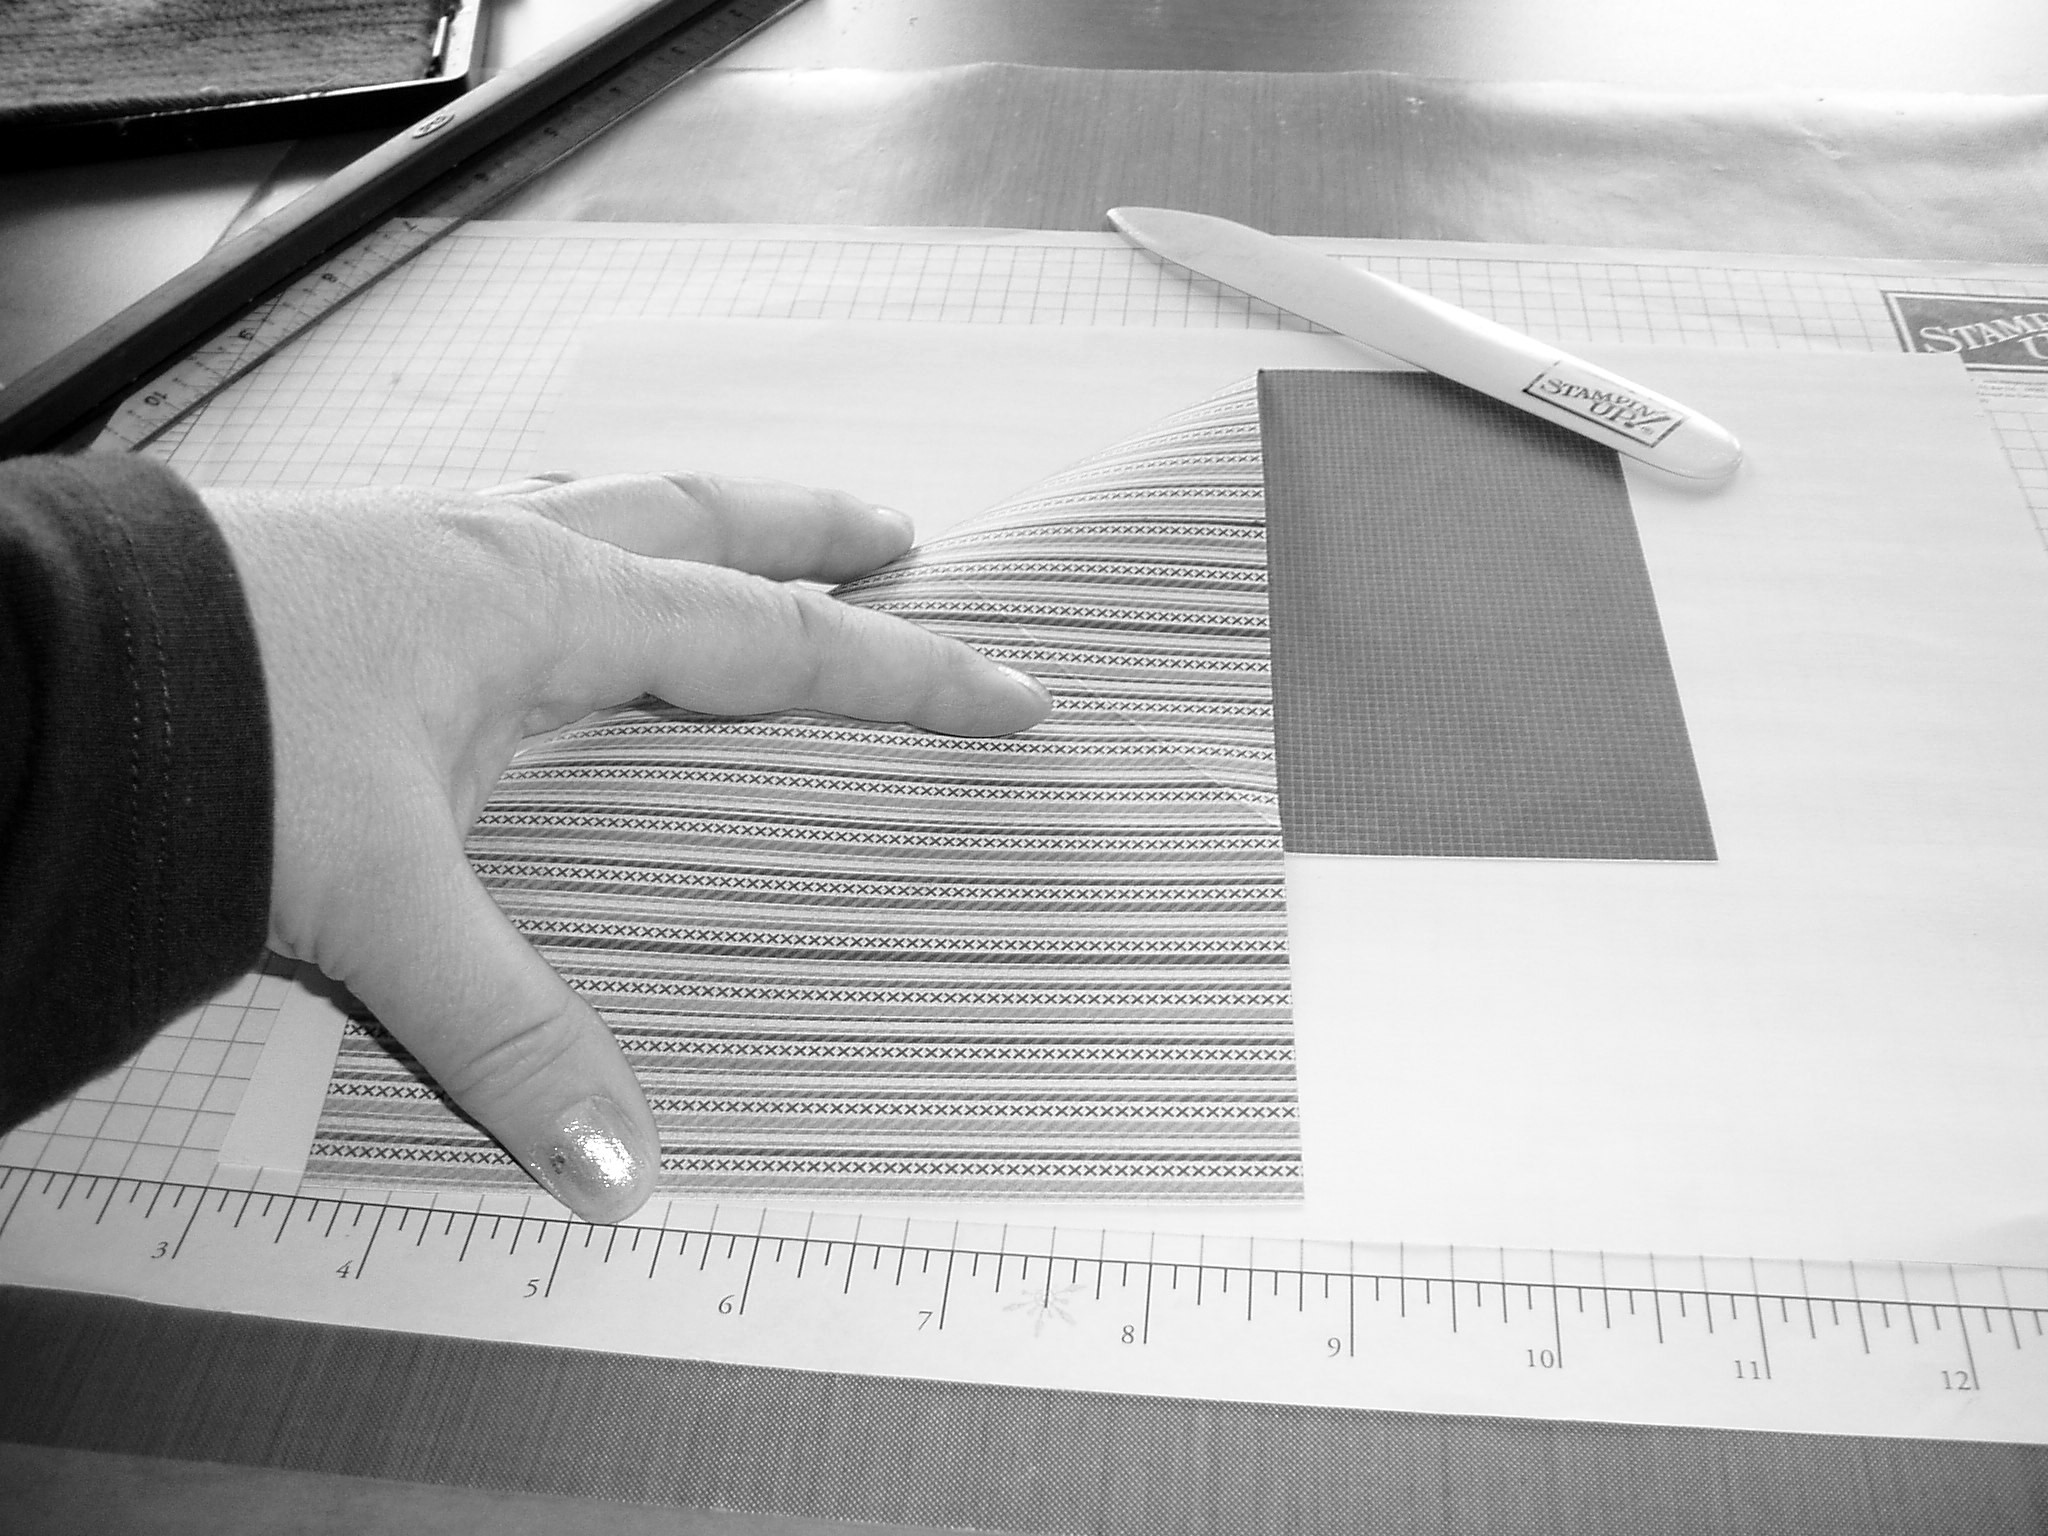
1) With the pattern you want featured facing up, fold your paper/cardstock in half to make a 4 1/4" square

2) Open up the paper and fold the right side back to the centre, creating a quarter fold on the right end.

3) Open the paper up again and turn it so that the featured pattern is face down. Grab the lower left hand corner, lift it up and over until the lower edge is even with the score created in step 2. Crease it with the bone folder.

4) Open the paper up again and this time, grab the upper left hand corner and pull it down until the upper edge is even with the score created in step 2. Crease it with the bone folder.
5) Mark the centre of the 5 ¼” left hand side with a pencil. Draw lines from this point to where the diagonal crease reaches the edge of the paper, creating a diamond shape. Trim on the lines
6) If everything was creased in the correct direction, it should automatically fold up perfectly. You can add a little bit of adhesive under the front point on the bottom to get it to stay upright.

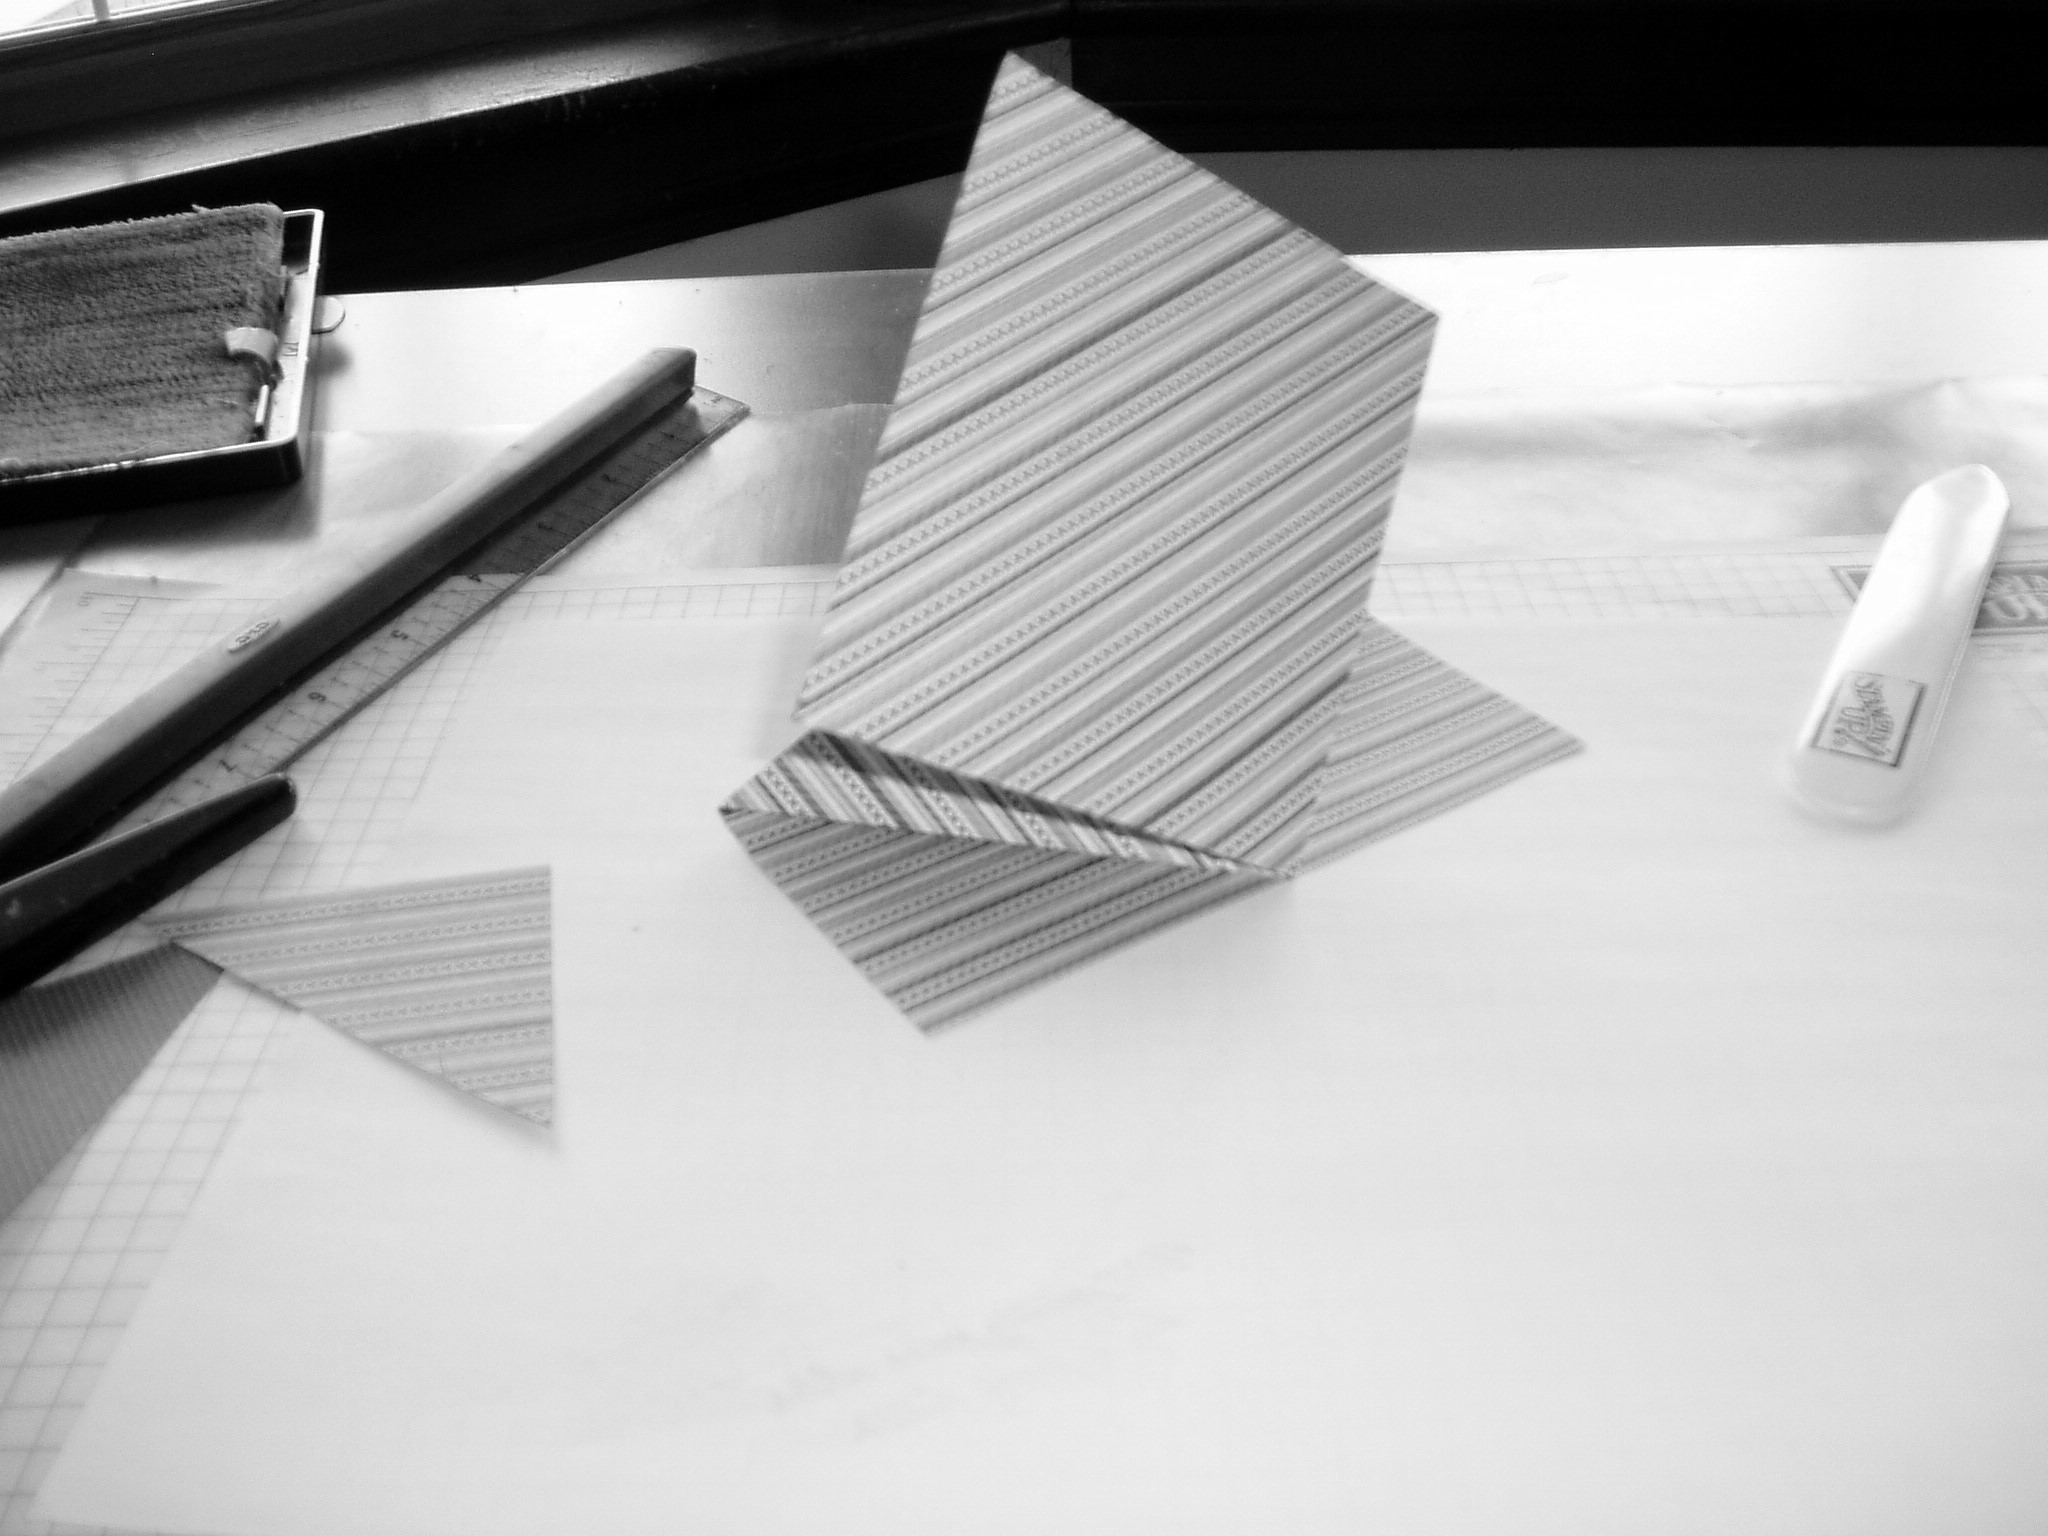
7) Decorate as desired.

